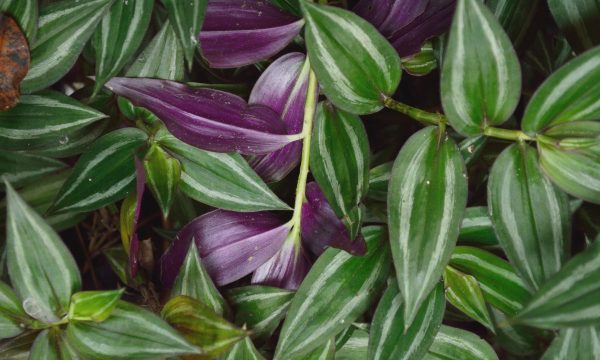
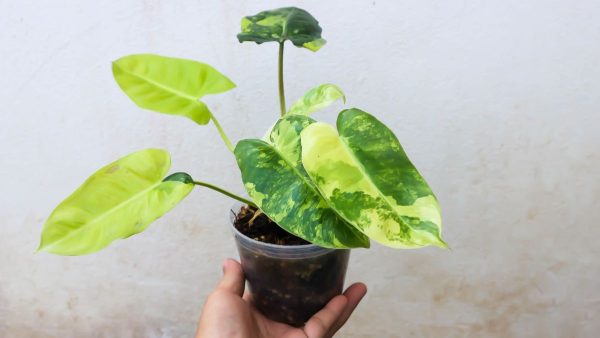
The Swiss cheese plant, commonly known as Monstera, has evolved from a houseplant to a social media superstar because of its beauty.

If you want to know how you can expand your Monstera collection without spending a dime.
This blog post is your one-stop shop for two easy Monstera propagation methods.
The Best Time to Propagate
For most plant species, timing is critical, but Monstera is forgiving.
The best time to propagate is usually in the early spring or when new growth is evident, but you can realistically propagate a Monstera at any time of the year.
Why Propagate Your Monstera Plant?
Propagation isn’t just a fun experiment – it’s also a means to:
- Control Growth: Your Monstera might be getting too big – a good reason to prune and propagate.
- Expand Your Collection: Who doesn’t love the idea of creating Monstera baby farms around the home?
- Share the Love: Propagate Monstera plants make perfect gifts for friends or fellow plant lovers.
Method 1: Water Propagation
One of the reasons people love Monstera propagation so much is that it’s a plant that readily grows roots in water. This is how simple it is:
Step 1: Choosing a Stem
Look for a healthy stem that has a few good nodes.
Nodes are the small, brownish nubs where leaves emerge. You ideally want about two or three leaves worth of height.
Step 2: Cutting the Stem
Take sharp, sterile scissors and cut just below a node.
Make sure your cutting tool is sharp and clean to ensure a quick and clean cut, with minimum damage to the parent plant.
Step 3: Placing in Water
Place your cutting in a clear, water-filled container. Make sure at least one node is submerged in the water.
Change the water every week or so to prevent the growth of mold or bacteria.
Step 4: Place in a Warm Spot
Put your cutting in a warm spot with indirect light and wait.
In a few weeks, you should see roots emerging from the submerged node.
Step 5: Potting Your Propagation
Once the roots are a couple of inches long, gently pot your cutting into a small pot with well-draining soil.
Keep it moist but not wet, and watch as it grows into a new Monstera.
Method 2: Soil Propagation
If you prefer the more direct approach, propagating in the soil is a bit less exciting but equally successful. Here’s how to go about it:
Step 1: Cutting and Preparing the Stem
Just like with water propagation, choose a healthy stem with a good number of nodes and leaves. Cut right below a node with a sharp and clean tool.
Step 2: Potting the Stem
Instead of placing the stem in water, pot it directly into a small pot of soil.
Use a well-draining potting mix with a bit of perlite or vermiculite to help aerate the soil.
Step 3: Keeping it Moist
Water your newly potted stem thoroughly and keep the soil moist, not soaked.
You’re simulating the humid, damp conditions of a tropical forest floor where Monstera grows in the wild.
The next two steps are the same as in the water propagation.
Basic Care Tips for Your Monstera
To ensure your Monstera propagates successfully, these are a few care tips to keep in mind:
1. Light Requirements
Monstera plants love bright, indirect light. Place them near a window where they can get plenty of light without direct exposure to the sun.
2. Watering:
The Monstera prefers its soil to dry out between waterings. Stick your finger into the soil about an inch deep, if it’s dry, it’s time to water.
3. Soil:
Well-draining soil is key to preventing excess moisture around the Monstera’s roots. A mix of potting soil, perlite, and orchid bark is a good choice.
4. Humidity:
Mist your Monstera’s leaves or use a humidifier, especially in dry indoor environments. This mimics the humidity levels of its natural habitat.
5. Fertilization
During the growing season, from spring to fall, your Monstera will appreciate a regular fertilization schedule.
Use a balanced, water-soluble fertilizer and dilute it to half-strength to feed your plant every two weeks.
In winter, when growth slows, you can decrease the frequency to once a month.

