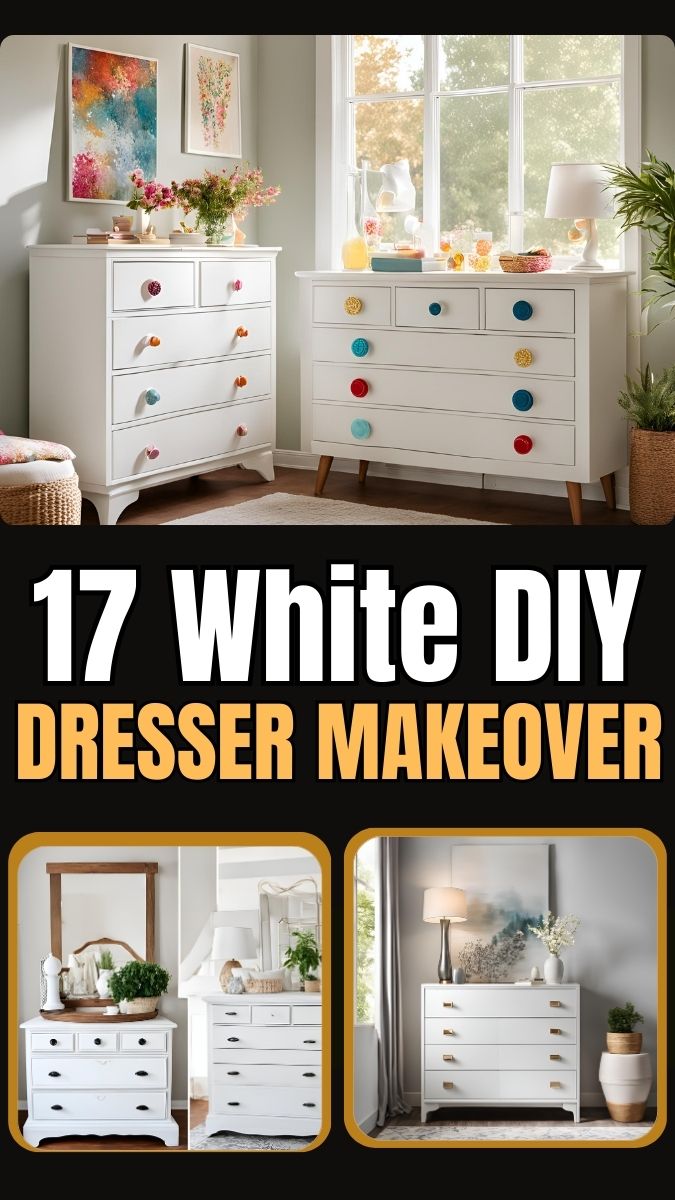
Giving an old dresser a fresh, modern look is one of the most rewarding home improvement projects you can tackle. When I decided to refurbish my own dresser, I set out with a vision: to turn a tired, outdated piece into a stunning, functional statement for my home. After some thought and planning, I settled on a white DIY makeover—one that would be both cost-effective and sophisticated. In this detailed guide, I’ll walk you through each stage of the process, share my experiences, and provide professional insights that will help you achieve a high-quality result.
1. Selecting the Right White Paint for the Job
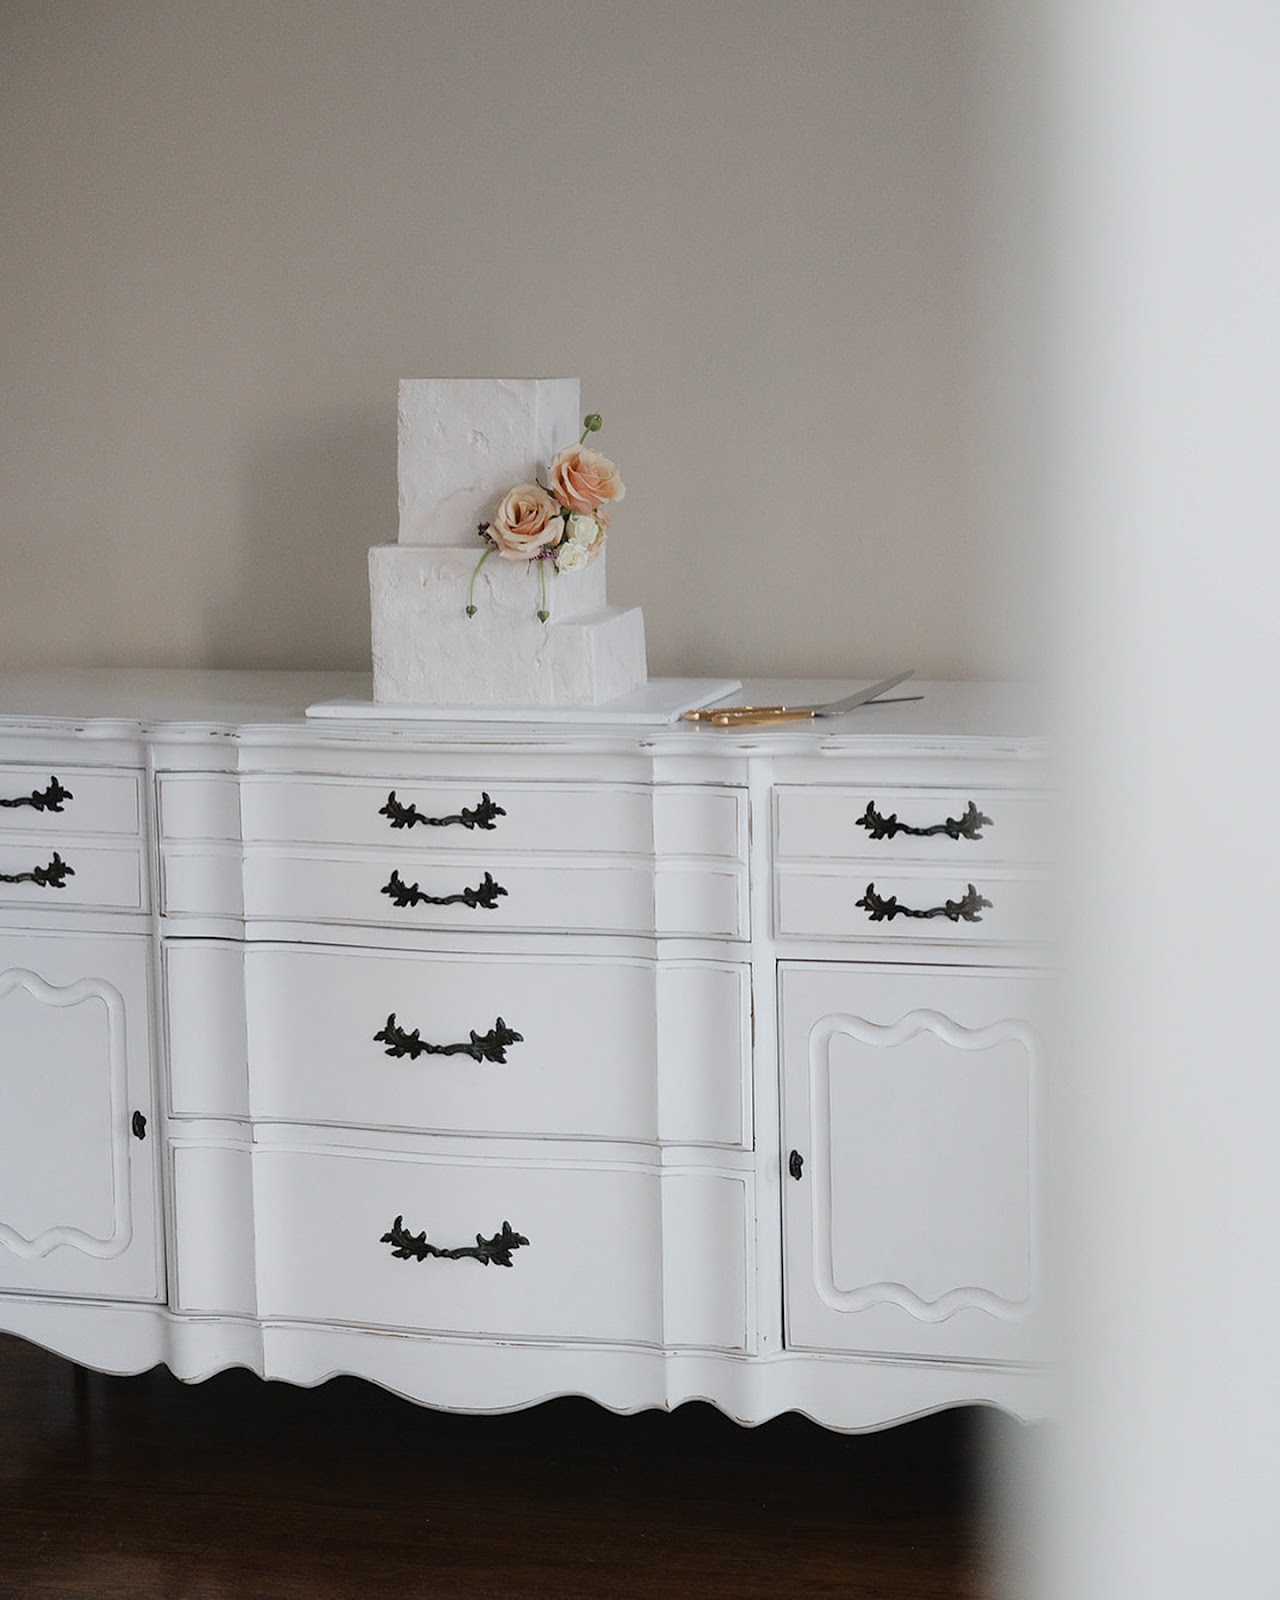
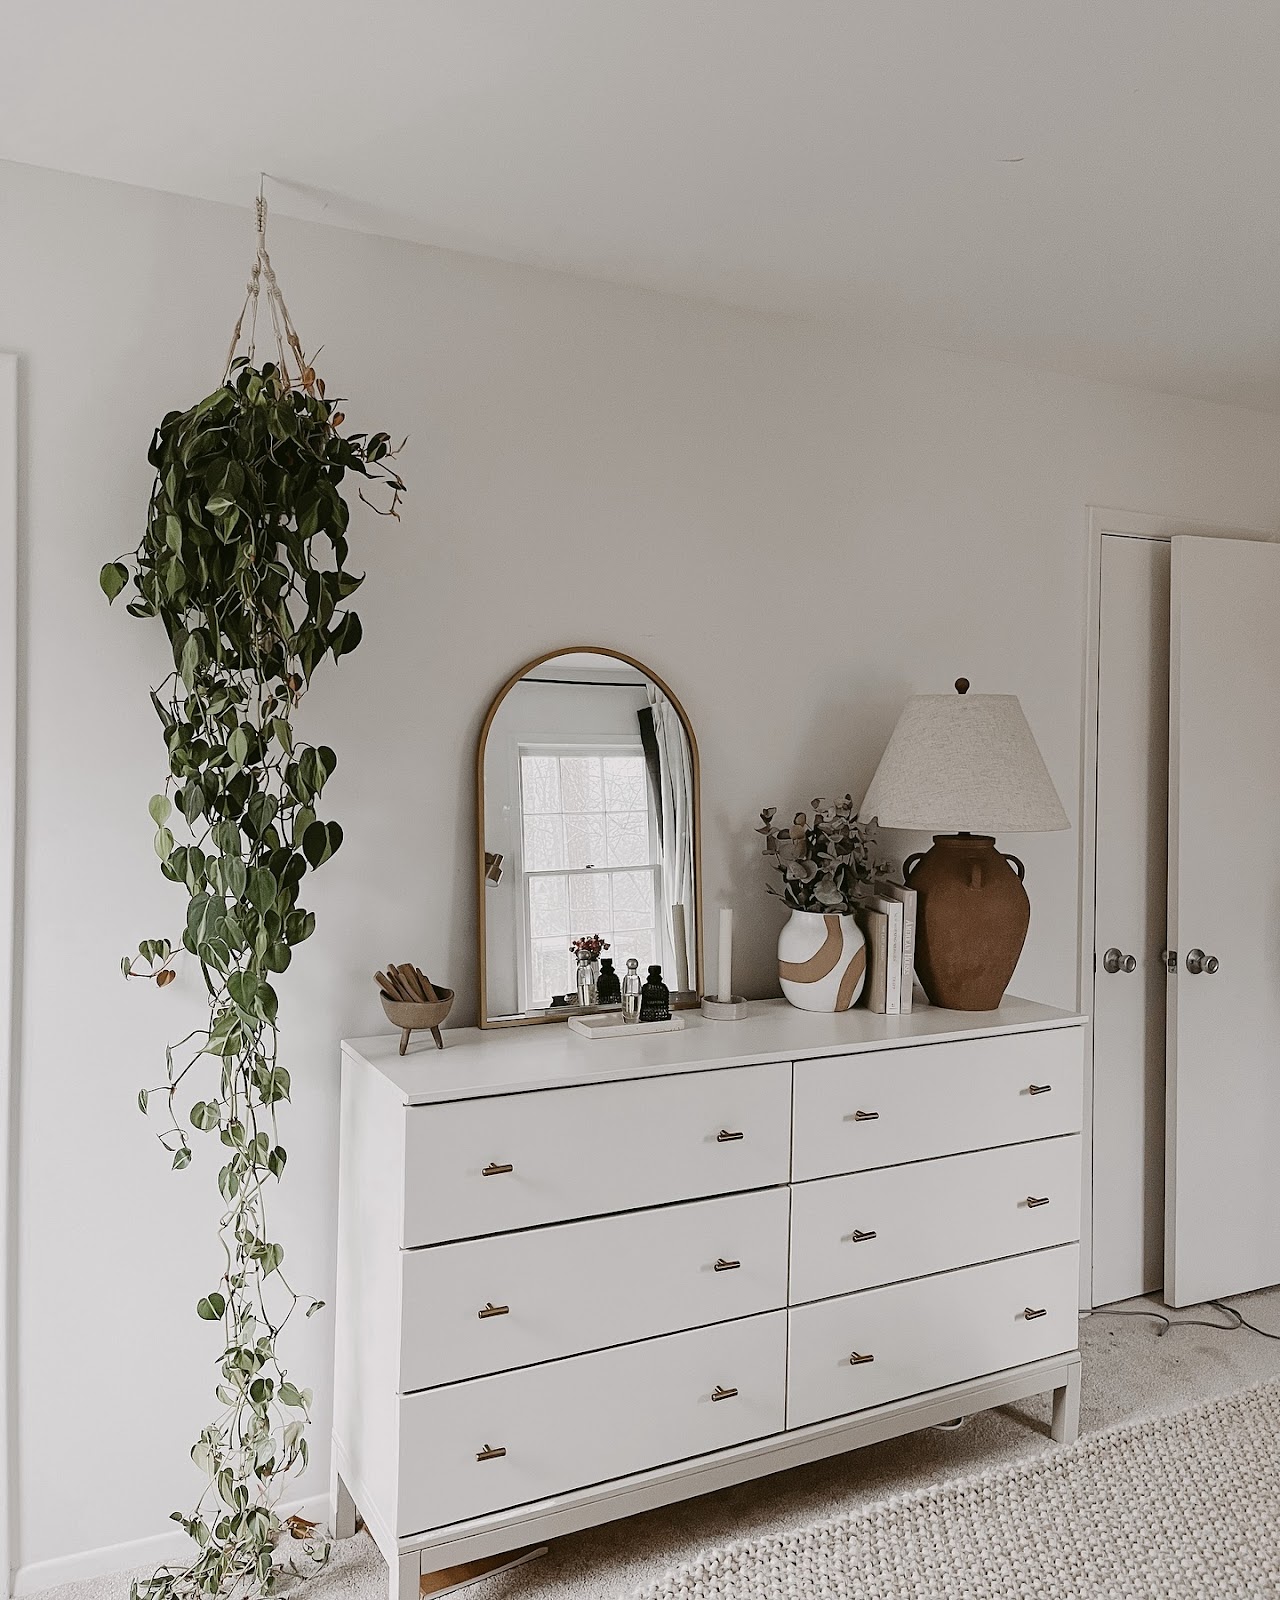
Source @olive.street.designs
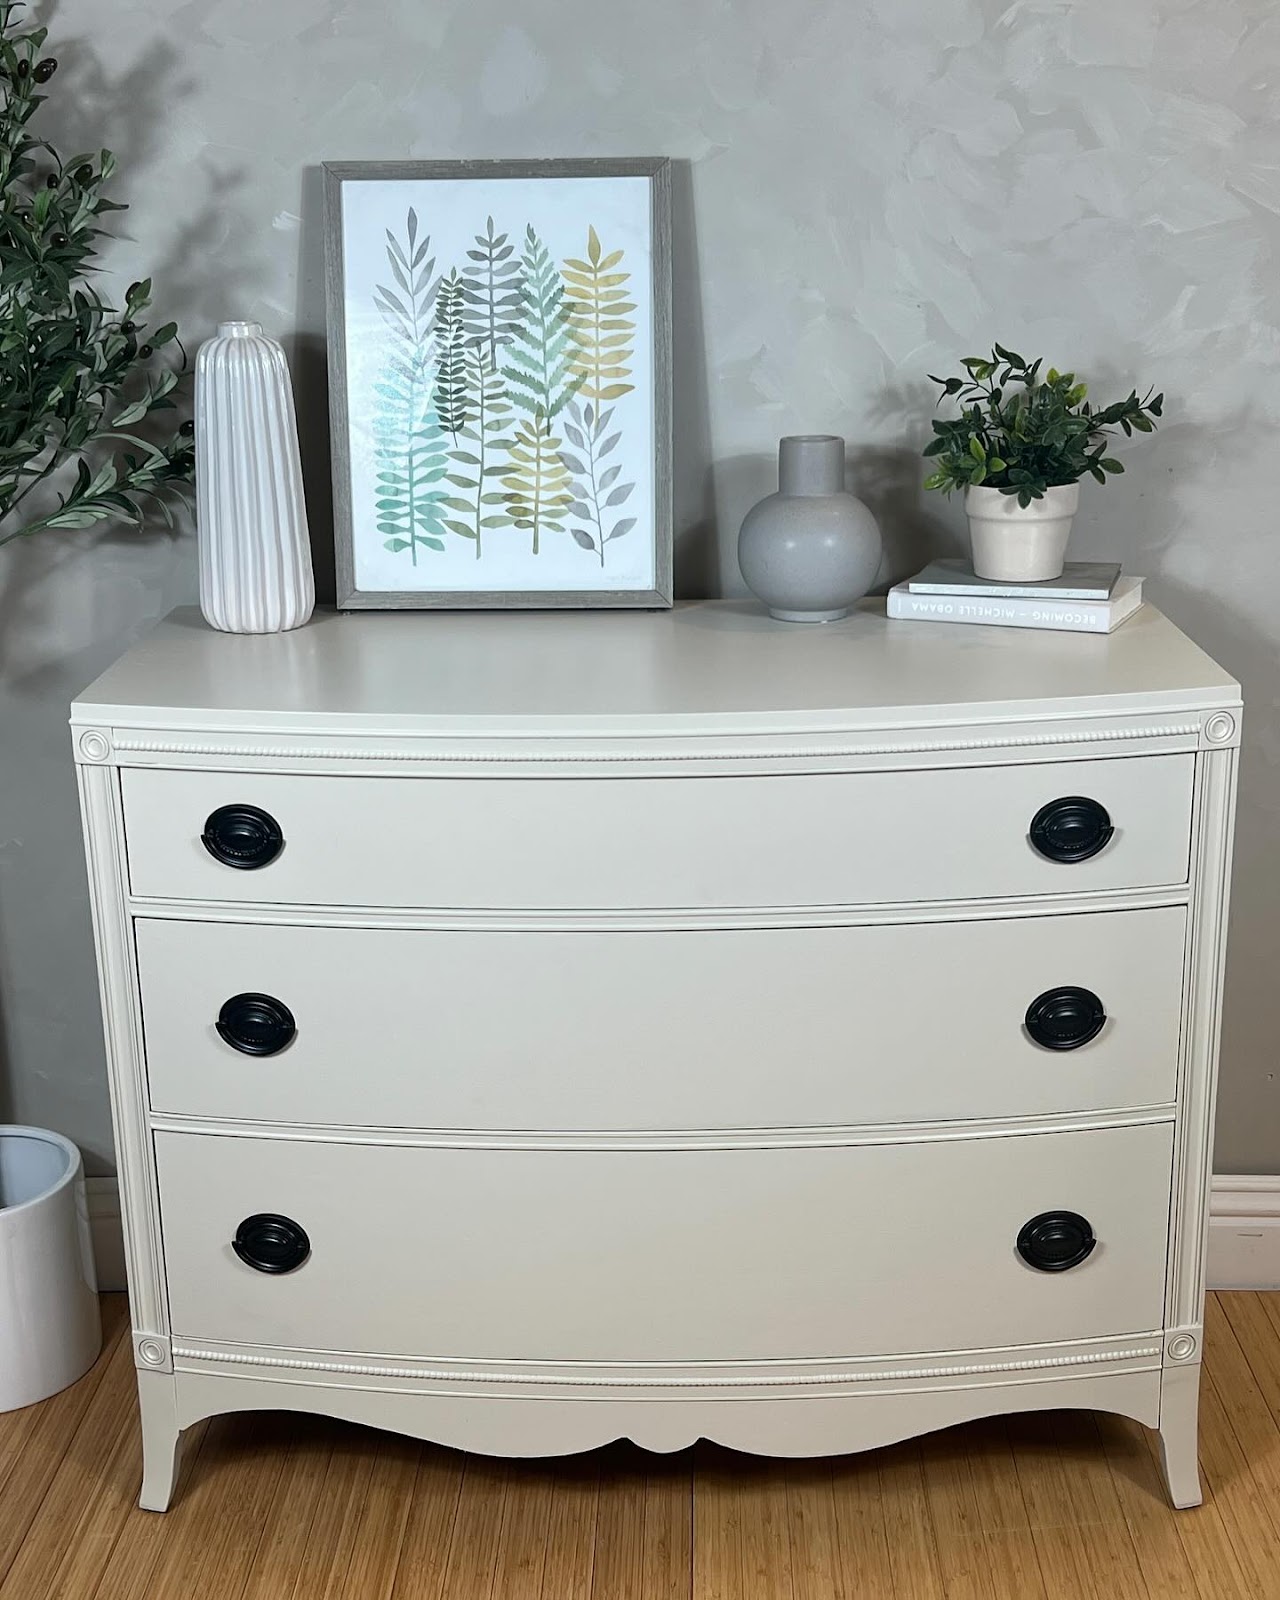
Choosing the right paint is paramount to achieving a long-lasting and aesthetically pleasing finish. When I first began, I was torn between opting for a bright, crisp white or a softer, off-white shade. After testing a few options, I decided on a subtle matte white. Not only does it complement a wide range of interior designs, but it also avoids the clinical look that some brighter whites can produce.
Matte finishes are ideal for furniture because they give a sophisticated, understated look without being too shiny. The key here is durability. I chose a high-quality, satin-finish paint designed for furniture applications, ensuring that the surface would resist everyday wear and tear. For anyone looking to replicate this look, I recommend investing in premium paint, as it provides a smoother application, better coverage, and more resilience over time. A poor-quality paint will require more coats and might not provide the seamless finish you’re aiming for.
2. Proper Surface Preparation: The Foundation of Success
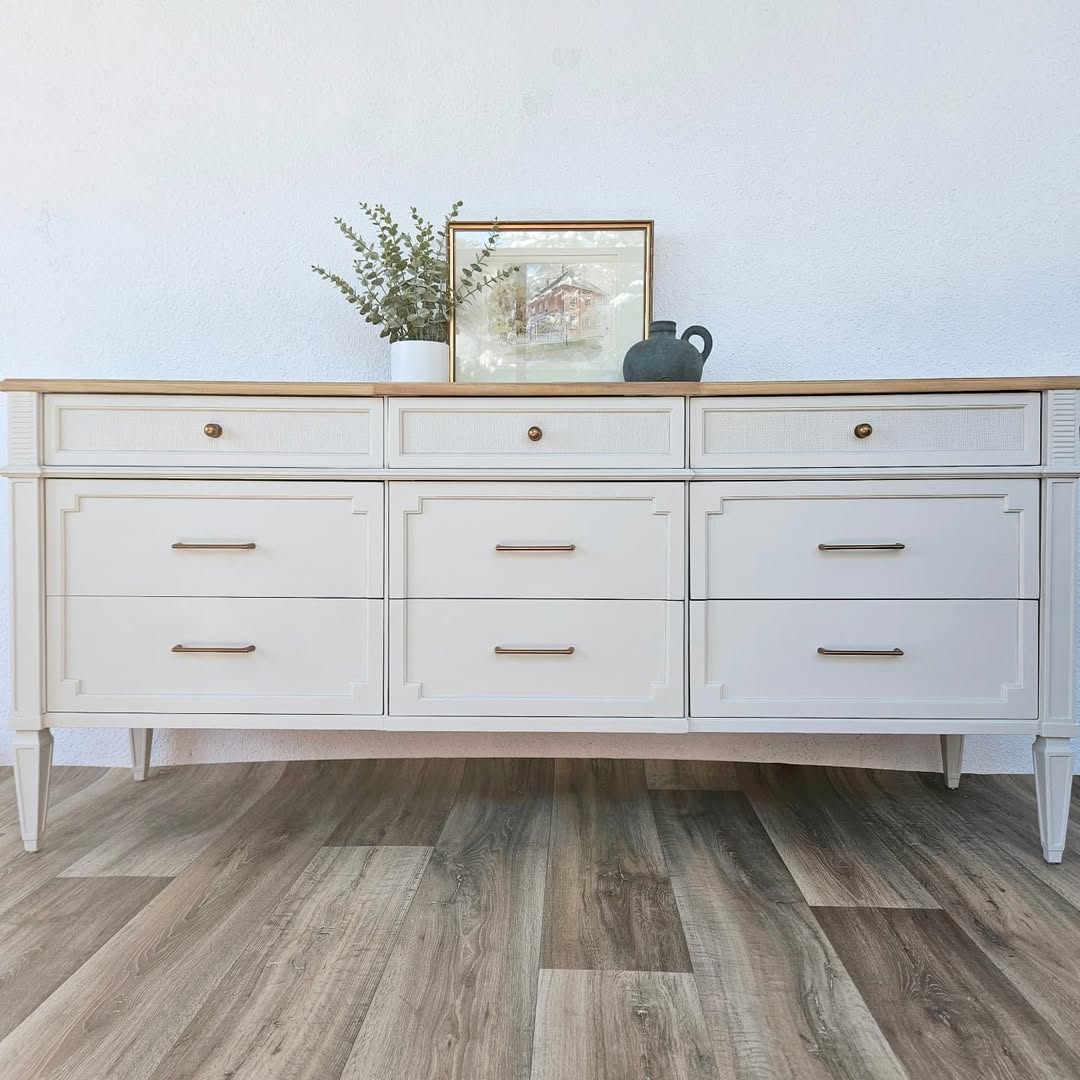
Source @pridgensfarmhouse
Surface preparation is arguably the most important step in any furniture makeover. It sets the stage for a flawless finish. For my dresser, I started by thoroughly cleaning the entire surface with a mild detergent to remove dirt, dust, and any grease that might have accumulated. Even a small amount of grime can interfere with paint adhesion, which is why I emphasized cleaning the piece properly.
Once clean, I lightly sanded the dresser to smooth out any rough spots and provide a key for the paint to adhere to. I used a fine-grit sandpaper to avoid damaging the wood or veneer. Sanding is especially critical if your dresser has been previously painted or finished. After sanding, I wiped down the dresser with a tack cloth to remove any residual dust, ensuring that the surface was perfectly smooth and clean.
While this step might seem tedious, skipping it will result in a poorly finished piece, no matter how high-quality your paint is. A smooth, prepared surface guarantees better adhesion and a more polished final product.
3. Upgrading the Hardware: Subtle Changes, Big Impact

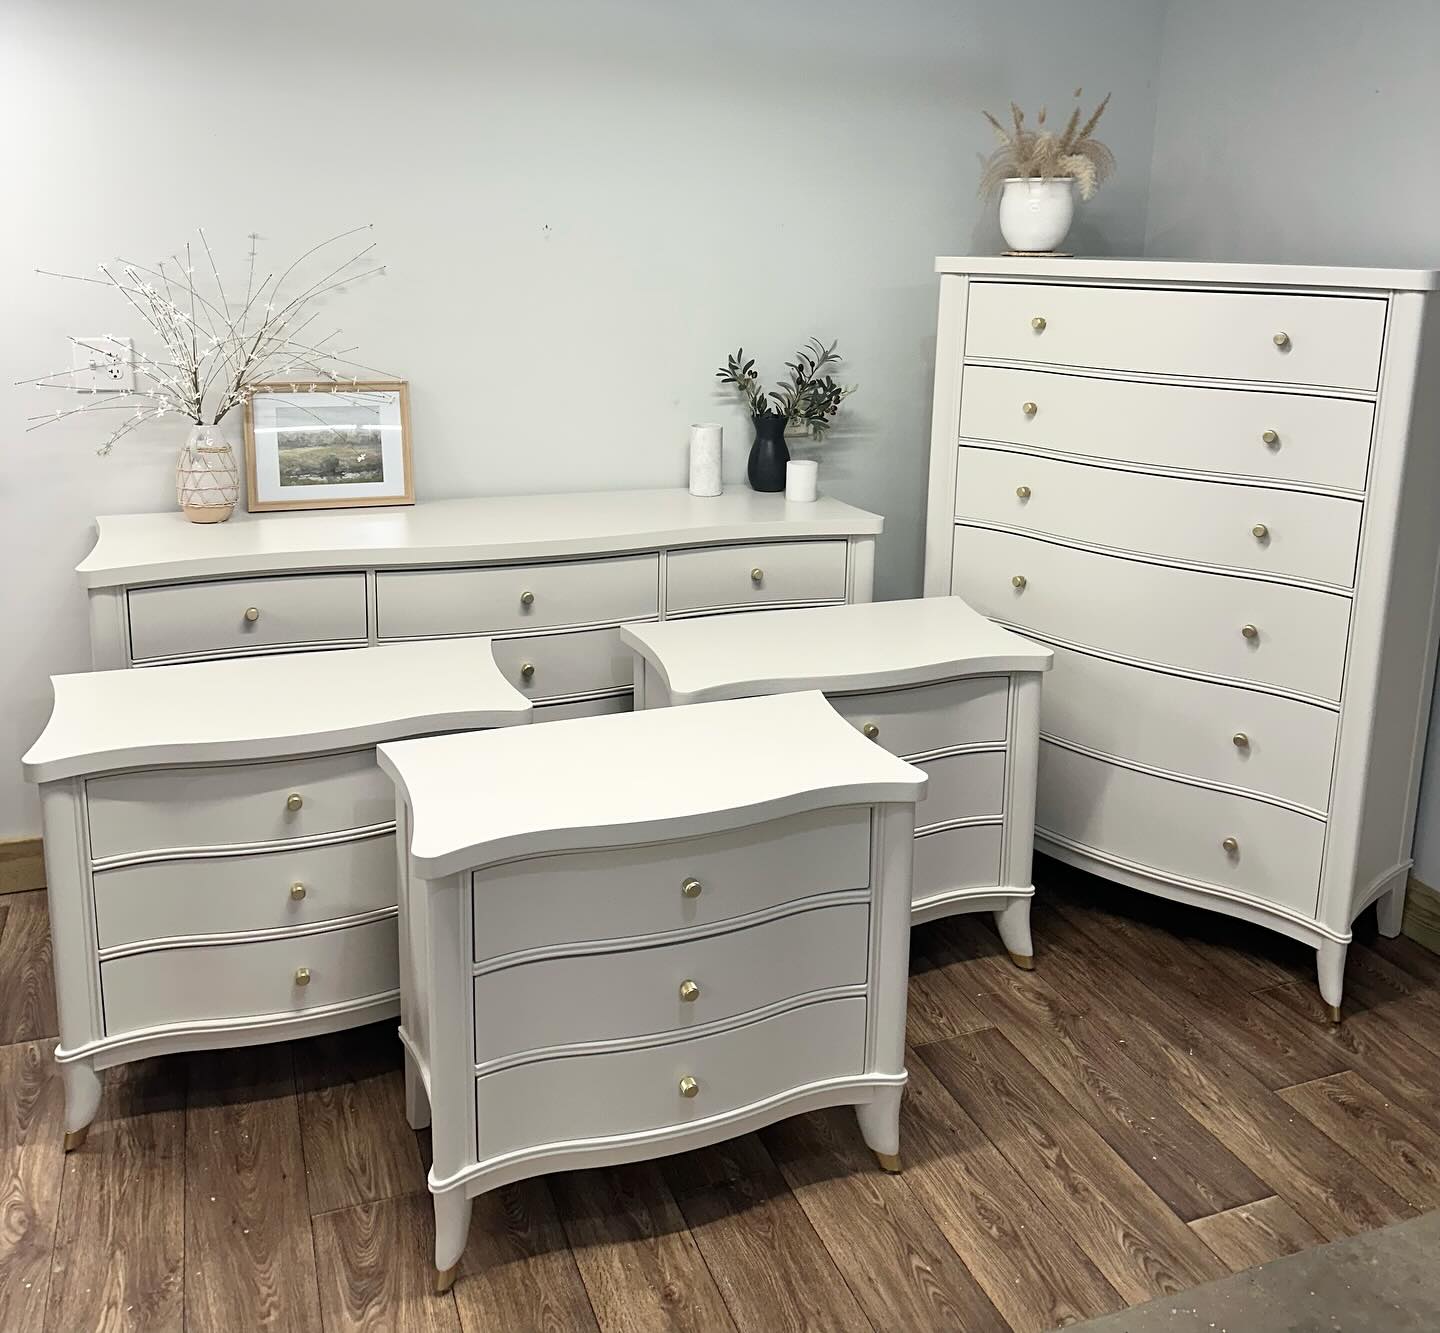
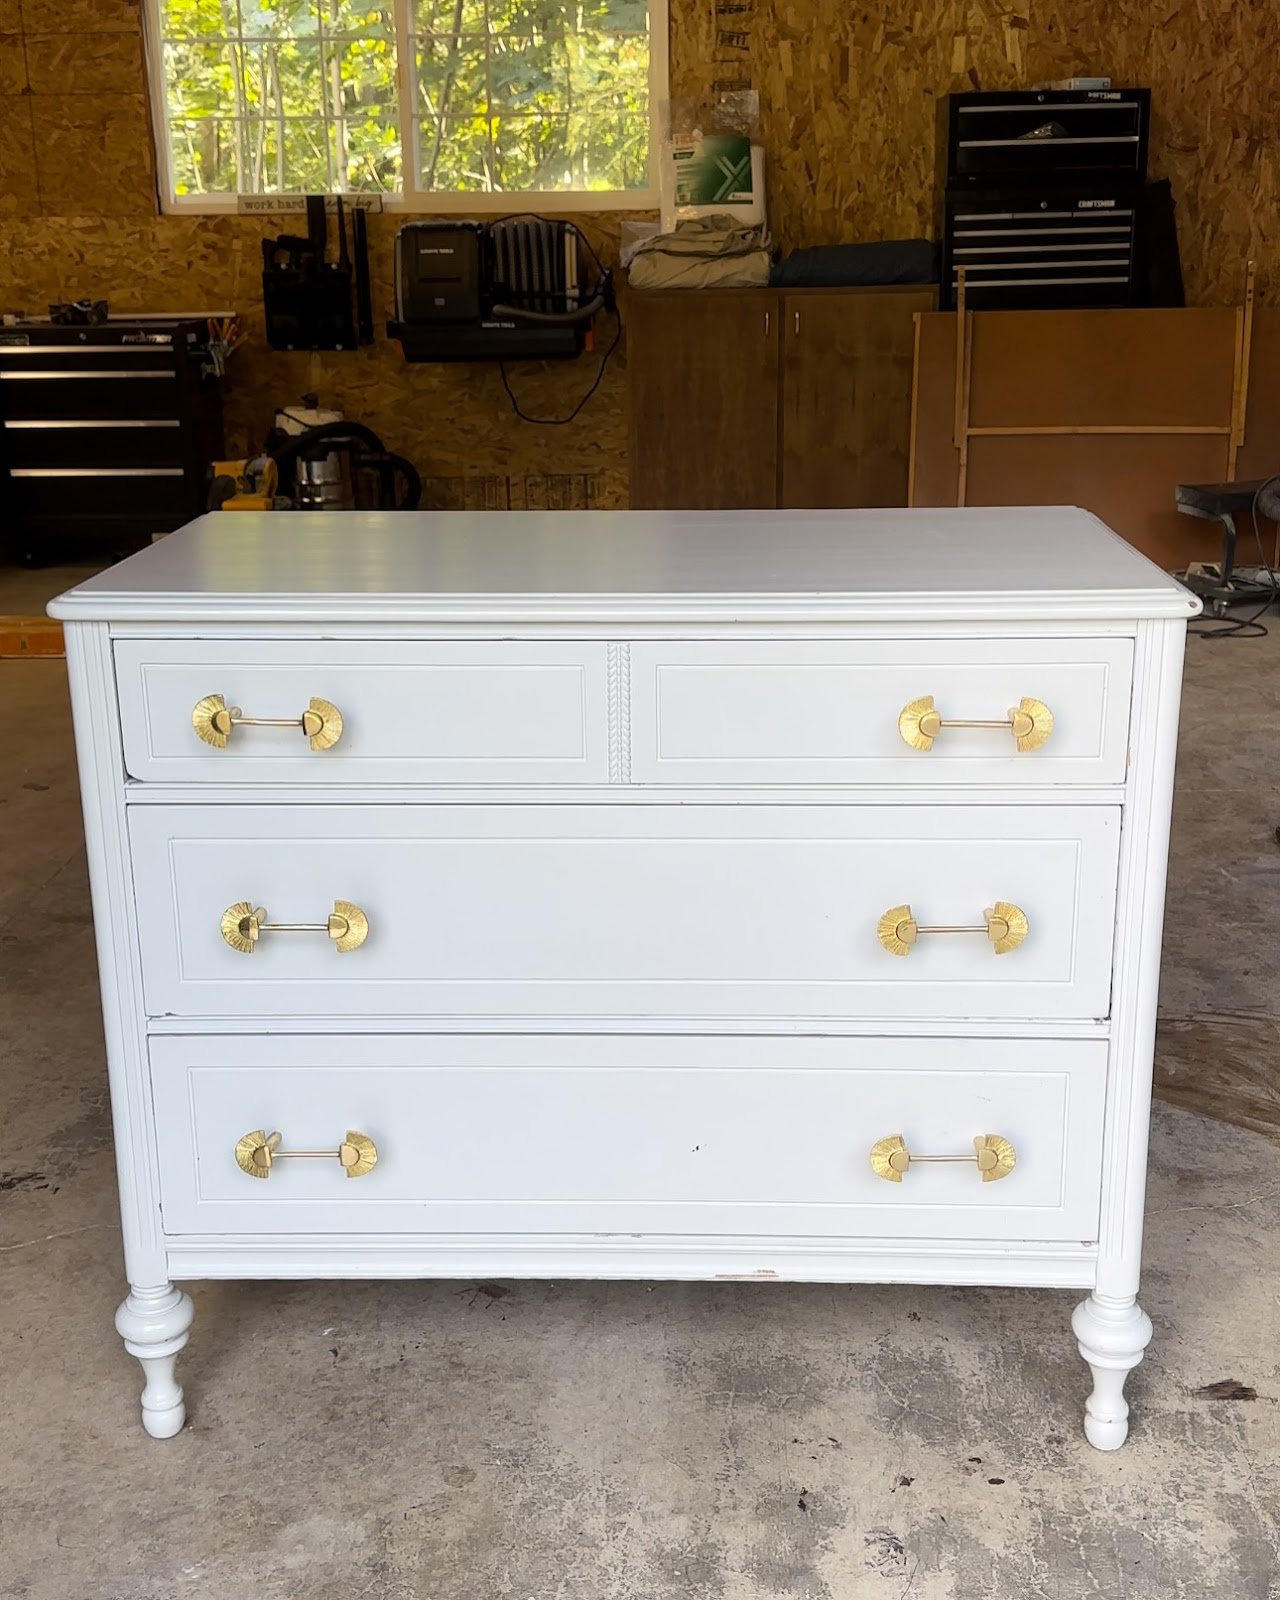
Source @restoreddesignsbynataliia
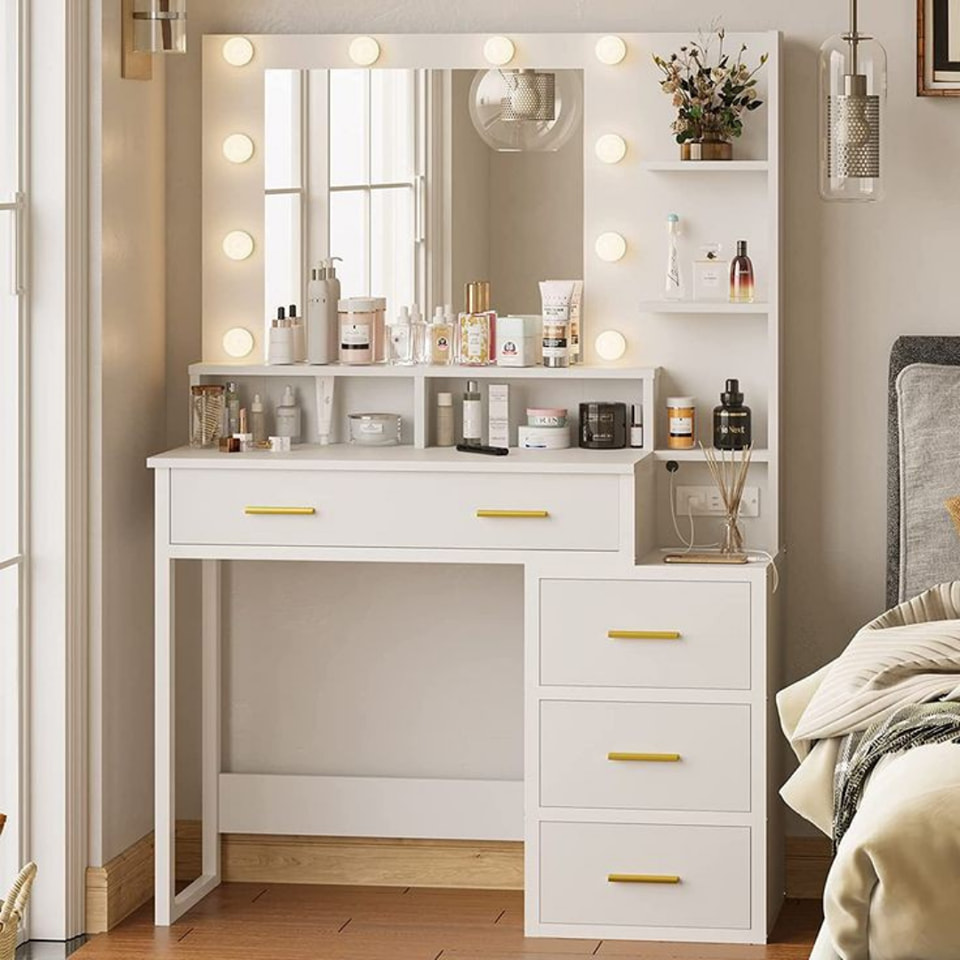
One of the easiest ways to upgrade a dresser without completely overhauling it is by replacing the hardware. The knobs and pulls are small elements, but they can significantly affect the overall appearance of your furniture. In my case, the original hardware was dated and clashed with the fresh, modern look I was going for.
I opted for sleek, brushed metal pulls that added a contemporary, minimalist feel. When selecting new hardware, consider the overall style of your room. For a more rustic look, wooden knobs might work better, while metal pulls lend themselves well to modern and industrial styles. Always choose hardware that complements the new paint job and fits the scale of the dresser. I found that the new pulls gave my dresser the fresh look I wanted without requiring a major overhaul.
4. Layering the Paint: Ensuring a Smooth, Professional Finish
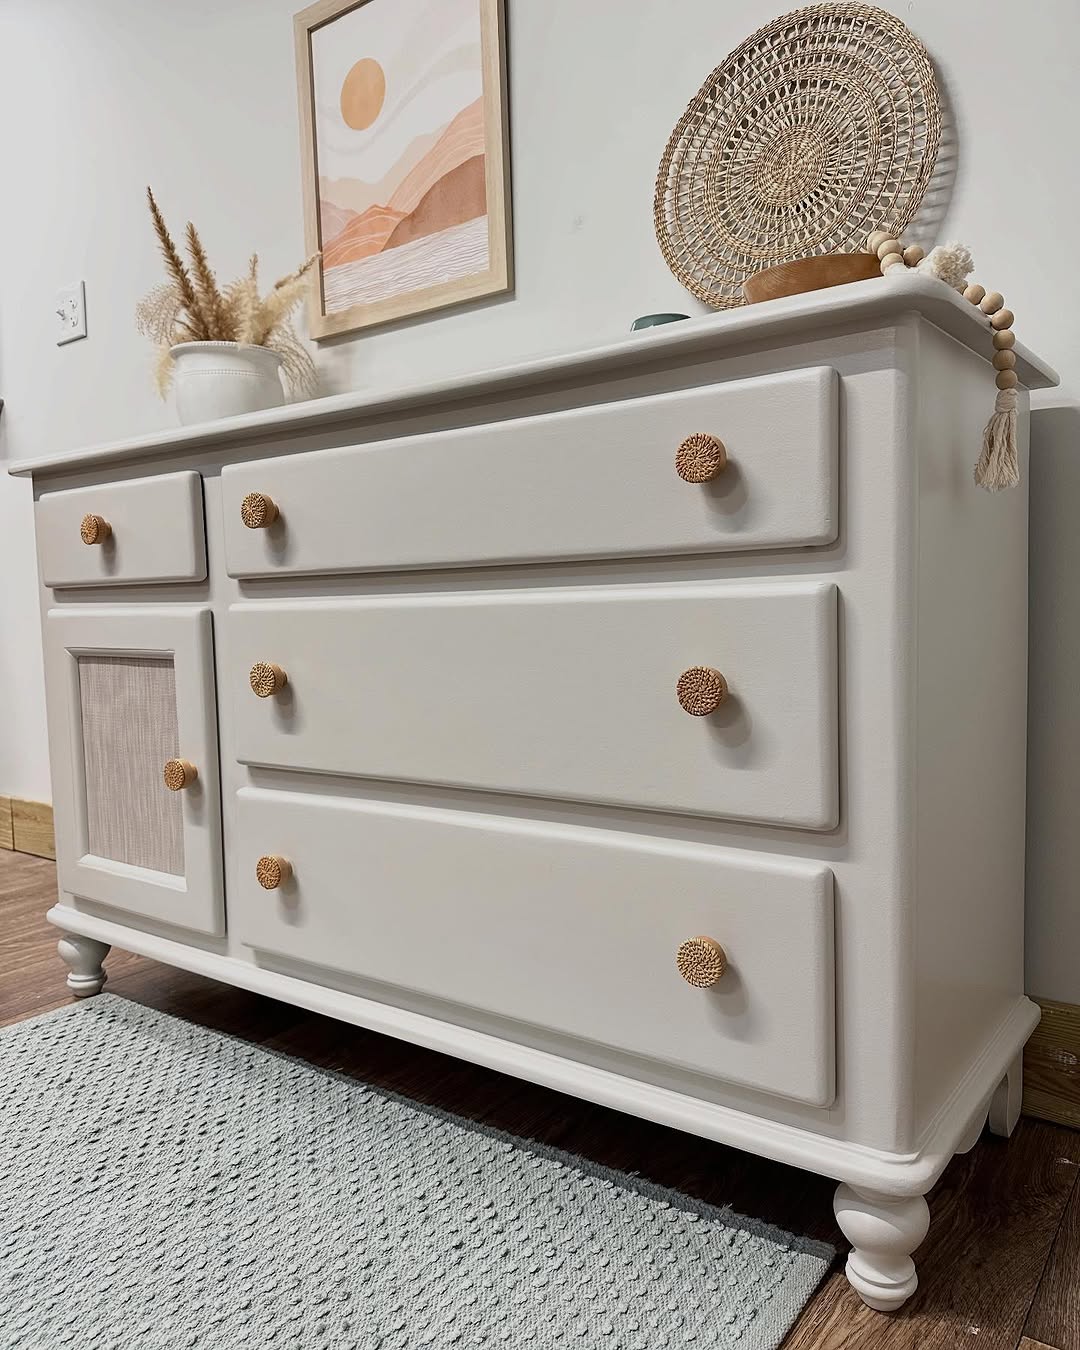
Source @re_urban_it
Painting is where the magic happens, but it’s important to approach it methodically. I applied several thin coats of paint, allowing each layer to dry completely before moving on to the next. Thin coats help prevent drips and streaks, ensuring a smoother finish. I also made sure to use a high-quality synthetic brush for detailed areas like the edges and corners.
For the broader surfaces, I used a foam roller, which left a smooth, even coat with minimal brush marks. The key to a professional finish is patience. Rushing through the painting process leads to uneven coverage and visible flaws. It’s tempting to apply thick coats of paint to save time, but thin layers that dry in between will result in a more durable, smooth finish.
5. Personalizing Your Dresser: Small Touches, Big Results
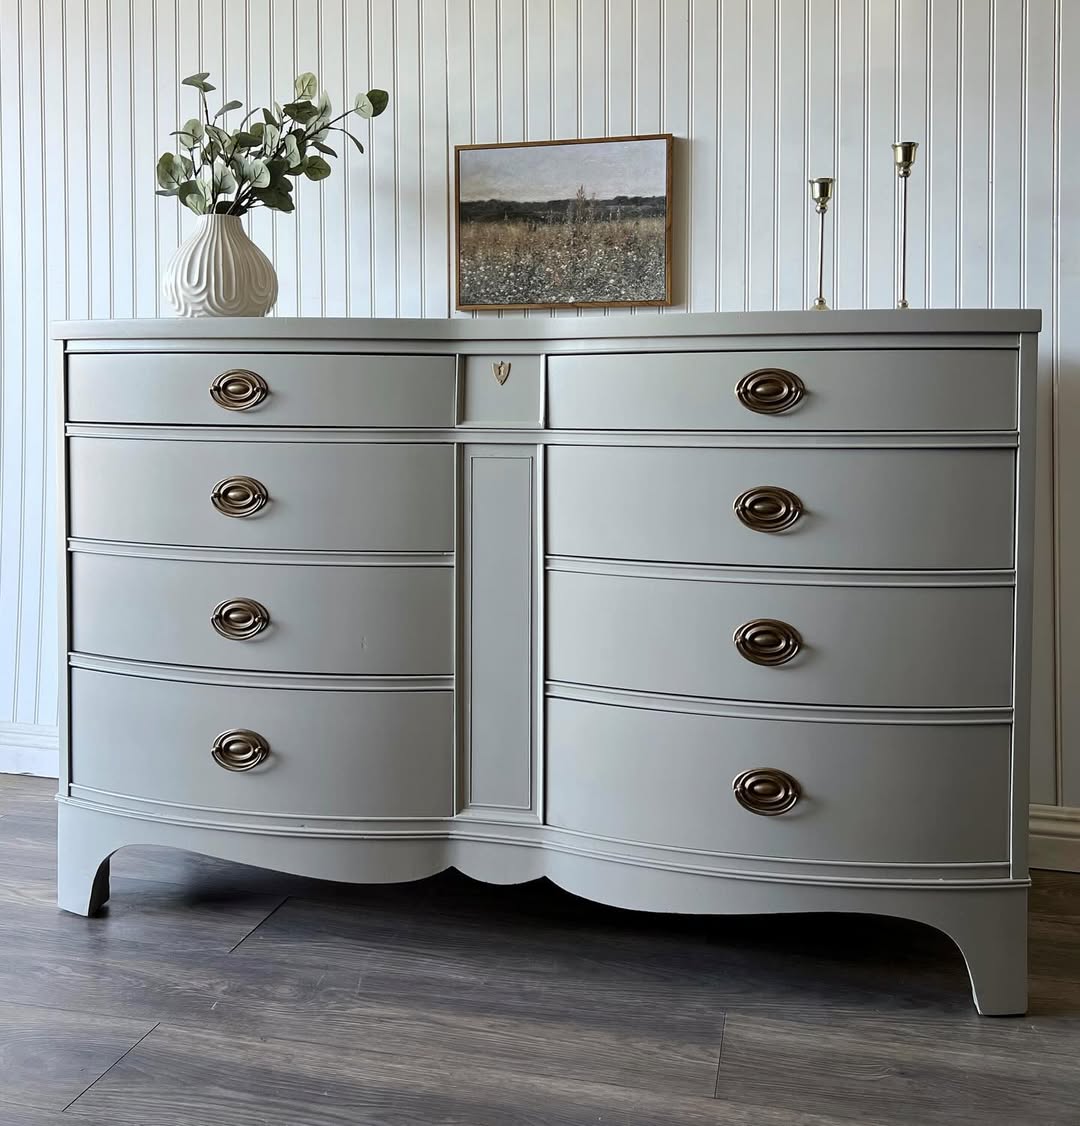
Source @luisafurniture2019
A white dresser is classic, but it doesn’t have to be plain. Personalization is what turns a generic piece of furniture into something unique to you. For my project, I added a touch of contrast by painting the interior of the drawers a soft, muted gray. This simple step made a huge difference in the overall aesthetic and added a subtle layer of interest that you don’t often see in standard furniture makeovers.
I also considered the placement and styling of the dresser in the room. Adding a few well-chosen decorative elements, like a vintage lamp or a small potted plant, can elevate the dresser’s impact. When personalizing, think about your existing decor and what elements might complement your dresser while staying true to your overall aesthetic.
6. Real-Life Experience: Overcoming Setbacks
Source @amostsimplehome
Like any DIY project, things don’t always go as planned. My first attempt at applying the paint was less than perfect. I didn’t allow enough drying time between coats, which resulted in some uneven patches. I also had trouble with some areas of the dresser where the paint would clump due to excess buildup.
What I learned from this setback was the importance of timing and patience. When I tried to rush, the final result wasn’t up to my expectations. I went back and carefully sanded those areas down, touched them up with a fresh coat of paint, and let it dry thoroughly. This experience reinforced the idea that even small mistakes can be fixed with a little extra effort and patience.
7. Protecting the Finish: Sealing for Durability
Source @thepaintedcrow
Once the paint dried and the dresser was looking perfect, I applied a protective topcoat to seal the surface and ensure the finish lasted. For a piece that will see daily use, a clear coat is essential. It adds a layer of protection against scratches, spills, and general wear.
I opted for a matte polyurethane finish to maintain the soft, subtle look of the dresser. Glossy finishes can sometimes make the piece look too shiny or commercial, so matte was the right choice for my style. When applying the clear coat, I used a clean, high-quality brush to avoid any streaks. I allowed each coat to cure for 24 hours before lightly sanding between layers for an ultra-smooth finish.
8. Styling the Dresser in My Home: Making It Fit
Source @harrysfurniture
After the makeover was complete, I found the perfect spot for my dresser. It’s important to not just focus on the piece itself but also how it interacts with the rest of your space. I placed mine near a window to take advantage of the natural light, which made the white finish shine even more. I styled the top with a few carefully selected items: a couple of plants, a framed photo, and a decorative bowl.
This stage is where the dresser starts to feel like it belongs in the room. The right accessories can make all the difference in how the dresser fits into the overall design of your space.
9. Lessons Learned: What I’d Do Differently
Source @sweetharmonious
Reflecting on the process, there are a few things I would have done differently. For example, I would have spent more time ensuring that the paint didn’t pool in the creases of the dresser. While I achieved a beautiful finish overall, I did notice a few small imperfections in the details. In future projects, I’ll take extra care to get those hard-to-reach areas right from the beginning.
Additionally, I might explore different types of paint finishes for a different look. Glossy or satin finishes could add a unique twist if I decide to refresh other pieces in the future.
10. Conclusion: The Benefits of a DIY Dresser Makeover
Source @oakandsagerefinishing
Overall, this DIY dresser makeover was not just about creating a beautiful piece of furniture; it was about the satisfaction of transforming something old into something new. Through careful planning, patience, and attention to detail, I turned an outdated dresser into a stunning focal point of my room.
The process taught me valuable lessons in craftsmanship and design, and it has inspired me to tackle more DIY projects in the future. If you’re considering giving your own furniture a makeover, I highly encourage you to dive in. With the right approach and a little time, you can achieve professional results and enjoy a refreshed piece of furniture that’s uniquely yours.
11. The Budget Breakdown: Getting a High-End Look on a Budget
Source @upcyclingby_v
When I embarked on this dresser makeover, I was mindful of keeping costs reasonable while still achieving a professional result. my dresser makeover cost around $100, a fraction of what it would have cost to buy a similar piece from a store. By repurposing the old dresser and carefully selecting my materials, I was able to achieve a high-end result without breaking the bank.
12. Upcycling: The Environmental Benefits
Source @upcyclingby_v
One of the most rewarding aspects of this project was the environmental impact. By upcycling my old dresser, I reduced waste and gave new life to a piece that otherwise might have ended up in a landfill. Repurposing old furniture is a sustainable choice, and it helps reduce the demand for new resources.
Many people overlook the value of upcycling, but it’s a fantastic way to be more eco-conscious while adding unique, personalized pieces to your home. If you have old furniture sitting around, consider giving it a fresh look before tossing it out. Not only is it good for the environment, but it also allows you to add a touch of your own creativity to your living space.
13. Mastering the DIY Mindset: Embracing Imperfection
Source @estherbschmidt
Throughout this process, I learned that DIY projects aren’t about perfection—they’re about progress. It’s easy to get caught up in the pursuit of perfection, but the truth is, some imperfections make a piece of furniture unique. For instance, the slight brushstroke marks I noticed after the first coat weren’t a flaw but a reminder of the effort I put into the project.By embracing these imperfections, I came to appreciate the handmade nature of my dresser. Each brushstroke, every small challenge, contributed to the end result. When you take on a project like this, focus on the process rather than the outcome. The journey is what makes the final product meaningful.
14. Increasing the Value of Your Home with DIY Furniture Projects
Source @pnwrefurbished
As I looked at my newly made-over dresser, I realized that this was more than just a simple furniture project—it was an investment in my home’s overall value. Stylish, well-designed furniture pieces can significantly elevate the look and feel of a room, and by tackling the project myself, I was able to create a high-quality piece that aligns with my personal aesthetic.If you plan to sell your home or just want to increase its value, updating or upgrading furniture with DIY projects like this can help. Customized, well-designed furniture adds a sense of care and attention to detail that can make your space feel more welcoming and higher-end.
15. The Power of DIY: Boosting Your Confidence and Skillset
Source @moderntouchbyjanette
Every time I take on a new DIY project, I learn something valuable. This dresser makeover wasn’t just about improving my home—it was also about developing new skills and gaining confidence in my abilities. From learning how to handle paintbrushes and rollers to mastering the art of sanding and sealing, each task taught me something new.DIY projects like this encourage you to step outside of your comfort zone and build on your knowledge. They challenge you to think creatively and problem-solve in real-time, and the sense of accomplishment you feel when the project is complete is priceless.
16. Taking Your DIY Skills Further: Exploring Other Projects
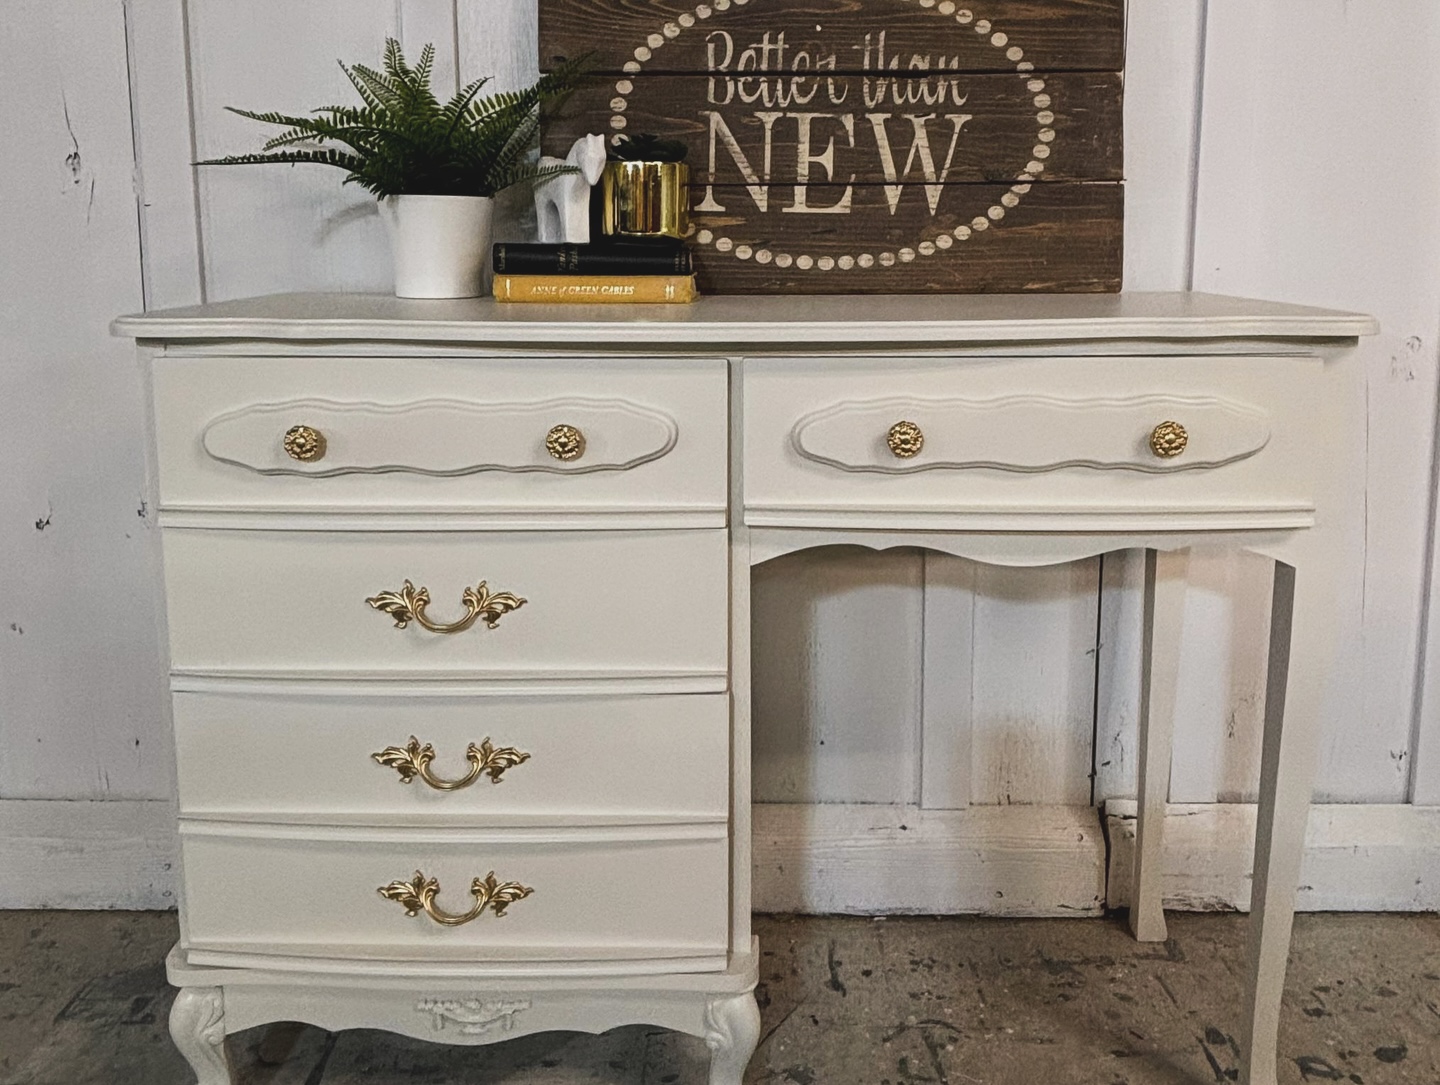
Source @betterthannewrefinishing
If you’re inspired by this dresser makeover, you might want to explore additional projects that can further enhance your living space. There are countless possibilities when it comes to updating furniture through DIY methods—whether it’s reupholstering an old chair, refinishing a coffee table, or transforming a worn-out bookshelf.One of the next projects I plan to take on is updating an old bookshelf with paint and new hardware. I’ve also thought about refinishing a wooden table I’ve had for years, giving it a fresh look that matches my evolving design style.
17. Final Thoughts: Why You Should Take the Leap
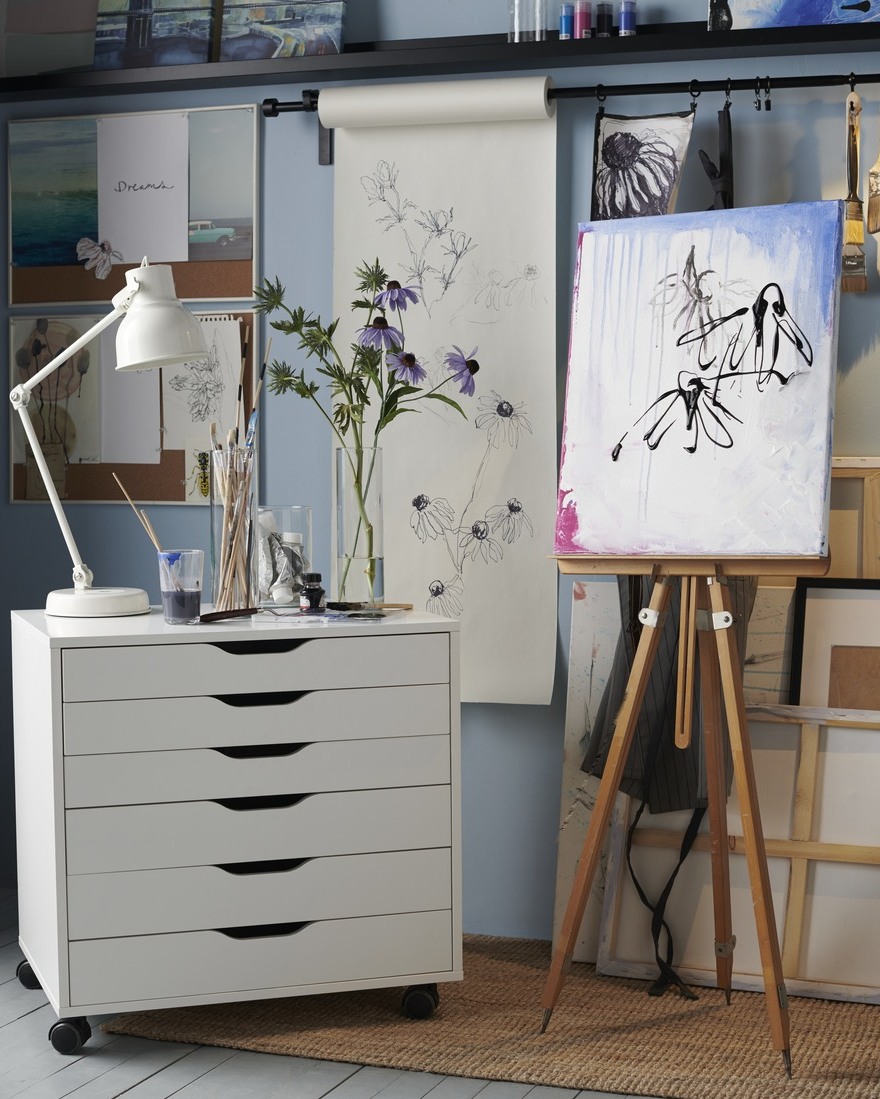
Source @ikeasingapore
If you’ve been on the fence about tackling a DIY dresser makeover or any furniture project for that matter I urge you to go for it. Not only will you save money and create something beautiful, but you’ll also gain valuable skills and experience that you can apply to other home improvement projects.Transforming furniture is a fantastic way to customize your space and express your personality through design. The satisfaction that comes with completing a project on your own is unmatched, and the end result will serve as a constant reminder of your creativity and hard work.